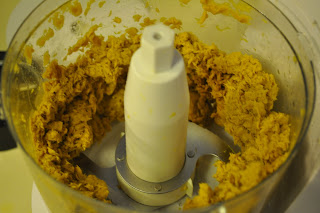
We started out by tearing 3 LARGE sheets of construction paper into small bits and placing them into a food processor or blender.

Next, we added a 1 1/2 cups of very hot water to the blender and let it sit for 5 minutes.

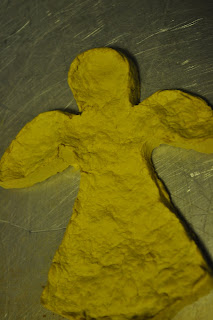
We preheated the oven to 200 degrees and placed a towel on a plate with a paper towel over it. Then we carefully chose a cookie cutter shape for our ornament. We chose an angel.

Turbo pressed the pulse button on the blender for about 30 seconds just so that a good pulp was created. Turbo touched it, but was pretty much finished after this, as getting messy was NOT a part of the deal...Ahhhh me...

Scoop out the mixture and put it into a sieve to squish out the remaining water. Of note, don't make it too dry otherwise the paper won't stick together and keep its cookie cutter shape.

Using your fingers, squish in the pulp so that every inch of your shape is filled. I didn't fill it to the brim, as I wanted to make a few more shapes than it was called for (they said 3, I was able to make 5).

Then carefully poke out the shape onto a cookie sheet and "bake" it in the over for 2 hours or until it is dry, light and firm at 200 degrees.


Like I said, don't get too much moisture out or it will fall apart!

Glue a ribbon/string with hot glue on the back, add glitter before baking or after and give away!
No comments:
Post a Comment